Introduction
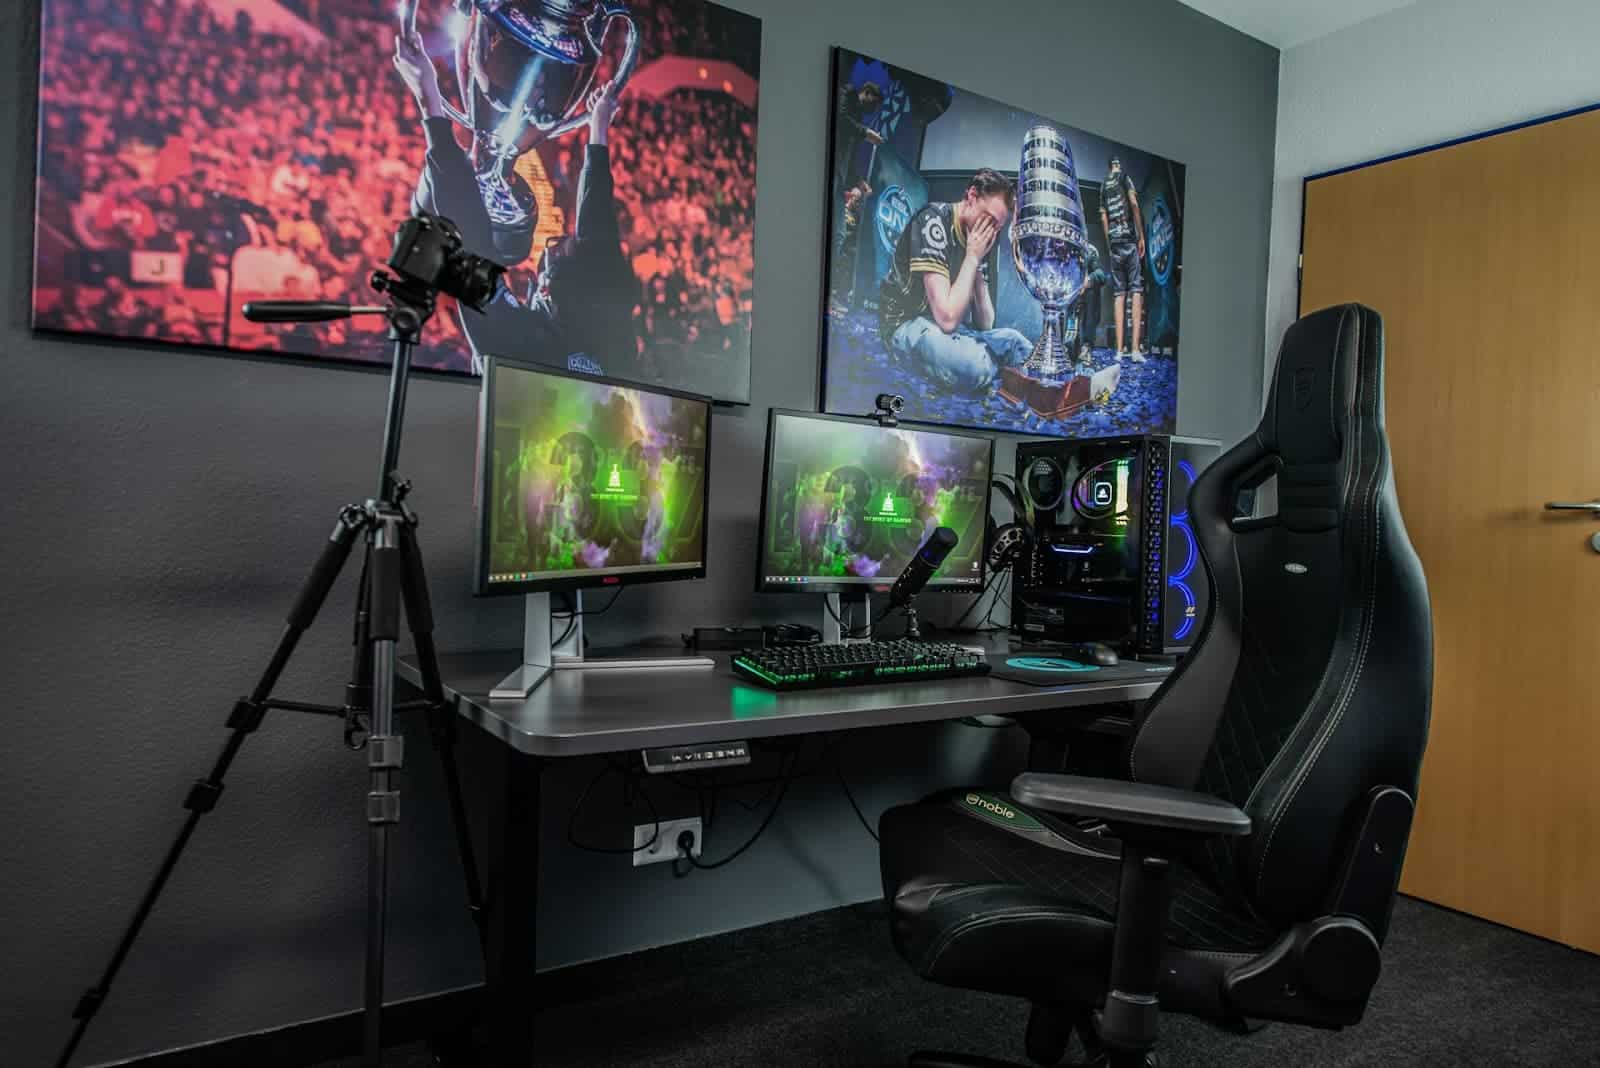
Ever thought about how much time you spend in your gaming chair? If you’re like most gamers, it’s probably a lot. That’s why keeping your throne in top-notch condition isn’t just about comfort – it’s about preserving your gaming sanctuary. Let’s face it, a well-maintained chair can be the difference between an epic gaming session and a backache-induced rage quit. So, buckle up as we dive into the world of gaming chair TLC, where we’ll turn you into a DIY repair wizard faster than you can say “respawn”!
Tools and Materials Needed
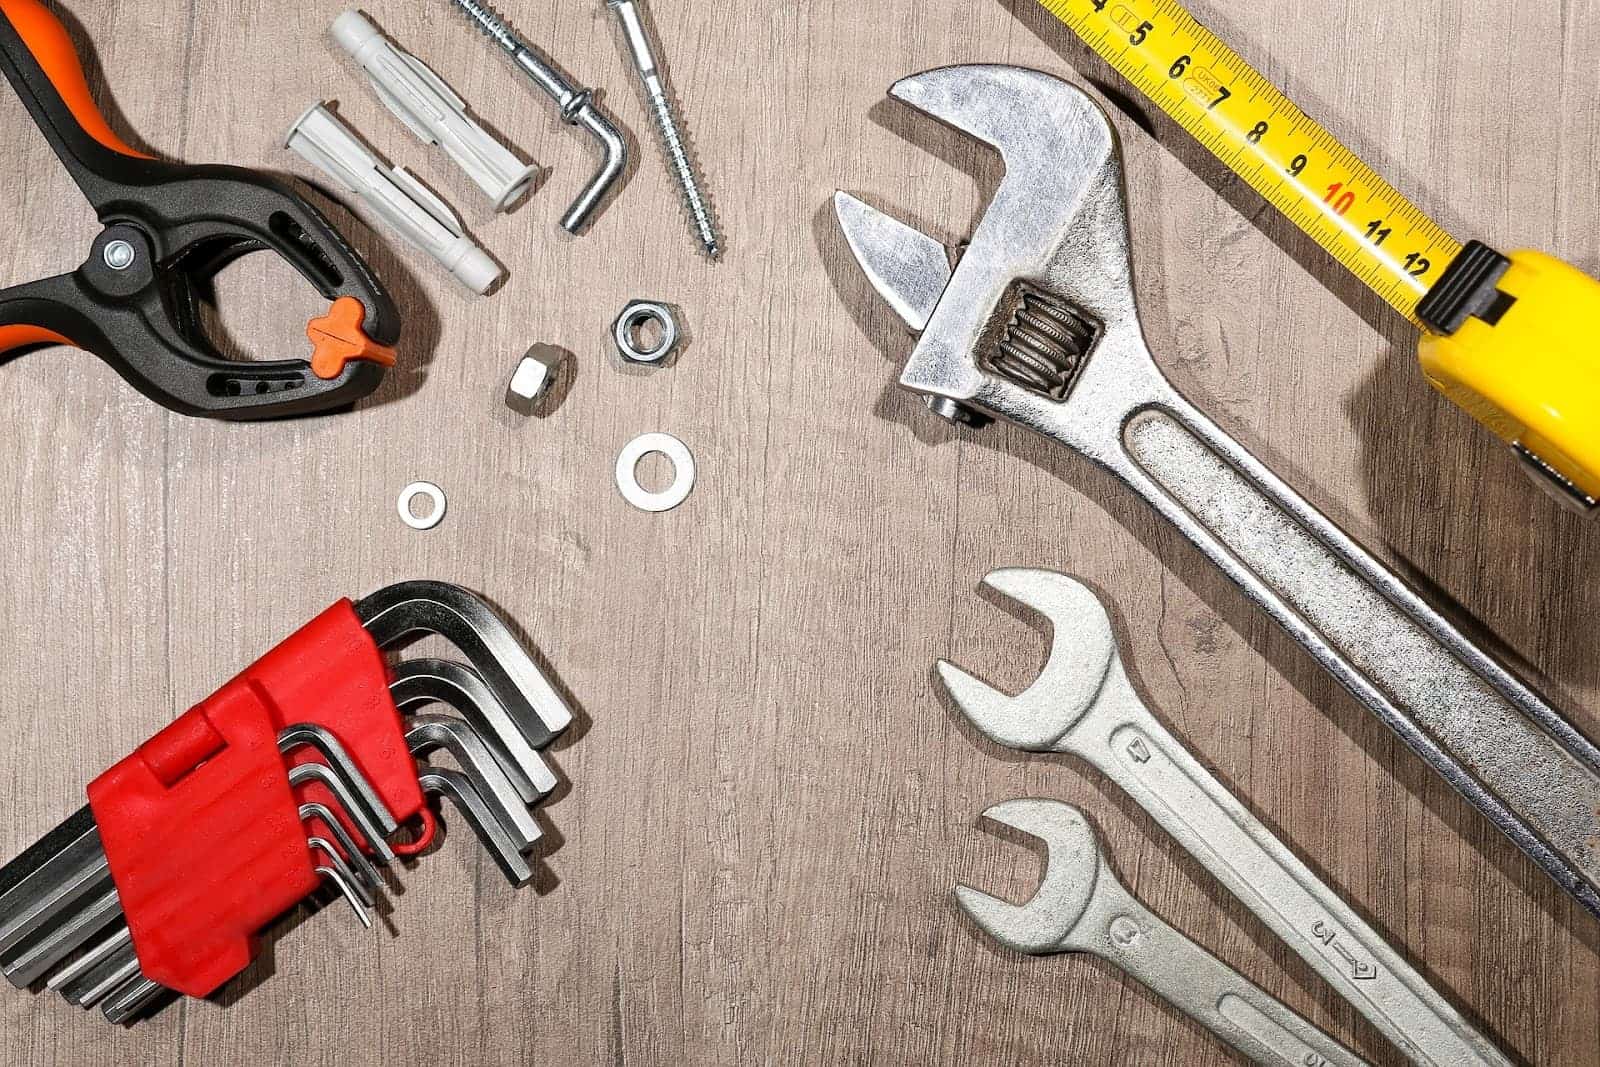
Before we jump into the nitty-gritty of chair repair, let’s gear up with the right tools. Think of this as equipping your inventory for a boss battle – you wouldn’t go in unprepared, would you? Here’s what you’ll need:
- Screwdrivers (Phillips and flathead) – your trusty sidearms
- Allen wrenches – the skeleton keys of the repair world
- WD-40 or silicone spray – liquid magic for squeaky parts
- Clean cloths – for wiping away the grime of a thousand gaming sessions
- Replacement parts (if needed) – gas lift cylinder, casters, armrests, etc.
- Pliers – for when things get a bit stubborn
- A willing spirit and patience – because let’s be honest, you’ll need it!
Remember, having these tools on hand is like having a good loadout – making your mission much easier.
Common Issues and How to Identify Them
Alright, let’s get down to business. Your gaming chair, like any battle-hardened veteran, is bound to show some wear and tear. But fear not! Recognizing the enemy is half the battle. Let’s break down the most common issues you might face and how to spot them.
The Squeaky MenaceYou know that annoying squeak that sounds like a tiny mouse is trapped in your chair? Yeah, that’s not part of the sound design of your game. Squeaks usually occur when metal or plastic parts rub against each other without proper lubrication. To identify the source, sit in the chair and move around, listening carefully. Is it coming from below? Might be the gas lift or wheels. From the back? Could be the recline mechanism. Pinpointing the location is crucial for our repair strategy.
The Sinking FeelingEver feel like you’re slowly descending into the abyss during an intense gaming session? That’s your chair’s gas lift cylinder waving the white flag. If your chair won’t stay up or slowly sinks when you sit on it, you have a classic case of a faulty gas lift. This is usually due to wear and tear on the cylinder’s seal, allowing the pressurized gas to escape.
The Leaning Tower of GamingIs your chair starting to resemble the Leaning Tower of Pisa? A few culprits can cause an uneven tilt. It could be loose screws in the tilt mechanism, worn-out washers, or even a bent metal plate. Check if the lean is consistent or only happens when you sit in a certain position. This will help narrow down the cause.
The Wobbly WandererIf your chair feels less stable than your connection during an online match, you might have a case of the wobbles. This can be due to loose screws in the base, worn-out casters, or even a cracked base plate. Give your chair a gentle shake – if it feels like it’s dancing the cha-cha, you have some tightening.
The Armrest UprisingArmrests are the unsung heroes of gaming chairs, but they can rebel too. If they’re loose, stuck, or won’t adjust properly, it’s time for some TLC. Check for any visible damage, loose screws, or if the adjustment mechanisms are jammed.
The Cushion CrusherOver time, even the most luxurious padding can lose its oomph. If you feel more bored than cloud when you sit, your cushions might be crying out for help. Look for visible flattening, uneven wear, or if you can feel the hard base through the padding.
The Cover ConundrumLastly, let’s talk aesthetics. Peeling, fraying, or torn covers look bad and can lead to further damage if left unchecked. Inspect the fabric or leather closely, paying attention to seams and high-wear areas like the seat and backrest.
Now, here’s a pro tip: prevention is key. Regular checks can catch these issues before they become game-enders. Set a reminder to give your chair a once-over every month or so. It’s like a health check-up, but for your gaming buddy.
Remember, identifying these issues early can save you a lot of hassle (and coins) in the long run. Plus, it ensures you’re always seated in comfort, ready to take on whatever challenges your games throw at you. After all, a happy gamer is a victorious gamer!
Step-by-Step Repair Guides
Fixing a Squeaky Chair
Ah, the infamous squeak – the bane of stealthy gamers everywhere. Let’s silence that noisy nuisance once and for all! First things first, identify the exact source of the squeak. Move around in the chair, applying pressure to different areas until you pinpoint the culprit.
Once you’ve found it, it’s time to break out the lubricant. WD-40 or silicone spray works wonders here. But wait! Before you go spray-happy, here’s a word of caution: avoid getting lubricant on fabric or leather parts. Nobody wants a greasy gaming throne.
Apply a small amount of lubricant to the squeaky joint or mechanism. A little goes a long way, so don’t overdo it. Work the chair through its full range of motion to distribute the lubricant evenly. If the squeak persists, you might need to disassemble the part for a more thorough application.
Remember, safety first! If you’re uncomfortable taking things apart, it might be best to call in the pros. And whatever you do, don’t force any parts – that’s a surefire way to turn a small squeak into a big problem.
Repairing a Sinking Chair
Feeling like you’re slowly sinking into quicksand? It’s time to tackle that faulty gas lift cylinder. This is a bit more involved, but don’t worry – we’ll get through this together.
First, flip your chair upside down and locate the retaining clip at the base of the cylinder. You’ll need to remove this to free the cylinder. A flathead screwdriver or pliers should do the trick.
Once the clip is off, separate the base from the seat mechanism. This might take some elbow grease, so don’t be afraid to put your back into it (safely, of course).
Now, you have two options: replace the entire cylinder or try a temporary fix. For a quick fix, you can wrap the cylinder in some pipe tape to create a tighter seal. But let’s be real – this is like putting a band-aid on a broken bone. For a permanent solution, you’ll want to replace the cylinder.
Measure your old cylinder and order a replacement of the same size. Once you have the new one, simply reverse the disassembly process to install it. Voila! You’re back in action, sitting high and mighty.
Adjusting Tilt and Recline Mechanisms
Is your chair stuck in one position like a statue? Or maybe it’s flopping around like a fish out of water? Either way, it’s time to adjust that tilt and recline mechanism.
Start by checking for loose screws. Tighten any you find, but be careful not to over-tighten – we’re not trying to fuse metal here.
If tightening screws doesn’t solve the issue, you might need to adjust the tension. Look for a knob or bolt under the seat. Turning it clockwise will increase tension, making the chair harder to recline. Counterclockwise does the opposite.
For more stubborn cases, you might need to disassemble the mechanism. This is where things get a bit tricky, so proceed with caution. Clean out any debris and lubricate moving parts. If you spot any damaged components, it’s replacement time.
Remember, a smooth recline is the difference between relaxing like a boss and feeling like you’re wrestling an alligator every time you lean back.
Regular Maintenance Tips
Cleaning Different Materials
Let’s face it, your gaming chair has seen things – snack crumbs, drink spills, and who knows what else. Keeping it clean isn’t just about looks; it’s about longevity.
For leather chairs, a damp cloth with a bit of mild soap will do wonders. Wipe it down gently, then follow up with a dry cloth. Avoid harsh chemicals – they’re the nemesis of leather.
Fabric chairs are a bit more forgiving. Vacuum regularly to prevent dust buildup, and for stains, use an appropriate fabric cleaner. Always test on a small, hidden area first – we don’t want any surprise color changes!
For mesh chairs, a soft brush attachment on your vacuum is your best friend. For stubborn dirt, a little mild detergent in water can help, but be sure to dab, not rub.
Lubrication and Tightening
Think of this as giving your chair a spa day. Every few months, show some love to those moving parts. A drop of lubricant on hinges, wheels, and other moving components can prevent that dreaded squeak from returning.
While you’re at it, go around and check all the screws and bolts. Tighten any loose ones you find. It’s like a mini tune-up for your chair, keeping everything running smoothly.
Preventative Measures
An ounce of prevention is worth a pound of cure, right? Here are some tips to keep your chair in tip-top shape:
- Respect the weight limit. Your chair isn’t a weight rack, so don’t treat it like one.
- Avoid extreme temperatures. Keep your chair away from heaters and direct sunlight.
- Use a chair mat. This protects your floor and your chair’s wheels.
- Rotate your chair. This ensures even wear, just like rotating your tires.
When to Seek Professional Help
Look, we all like to think we’re Tony Stark in the workshop, but sometimes, you need to call in the experts. If you’re dealing with a severely damaged frame, complex electrical components in high-end models, or if your DIY attempts have left you with more parts than you started with, it’s time to wave the white flag.
Professional repair services have the tools and expertise to handle major overhauls. Plus, they can often source parts that aren’t readily available to the public. Sometimes, spending a bit on professional help can save you from having to buy a whole new chair.
Conclusion
And there you have it, fellow gamers – your comprehensive guide to keeping your gaming throne in royal condition. Remember, a well-maintained chair isn’t just about comfort; it’s about enhancing your entire gaming experience. Regular check-ups, prompt repairs, and a little TLC go a long way in extending the life of your trusty gaming companion.
So, the next time you hear a squeak or feel a wobble, don’t just ignore it. Channel your inner mechanic and show your chair some love. After all, it’s been supporting you through countless victories (and a few defeats) – isn’t it time you returned the favor?
Now, armed with this knowledge, go forth and game on – in comfort, style, and a squeak-free silence!

